Labels

Babes. (3) Blessings (2) crafts (6) Daily toil (1) Food (3) other (5) sewing (2) treats (1)
Showing posts with label crafts. Show all posts

Wednesday, 11 December 2013

Storage benches

The rental place we live in is small we have no storage, making it hard to have a food storage let alone a Christmas tree which we have somehow stuffed in the top of a closet.
We have five large buckets that we have no where to put, we have been using them as chairs as well seeing that we only have two large chairs.
LIGHTBULB!
brains in the light bulb. isolated on white. Stock Photo - 12309476
I could make them into benches by putting wood over them and there would be more places to sit.
:)
Great idea...
problem though I had no wood and we couldn't afford any...
I suddenly realized we had a box spring we had been trying to give away for two months with no takers...I measured it and it was the perfect size wahahahaha
so I painstakingly pulled it apart piece by piece.
 
 
the outside had padding which I decided I would cushion the benches with so I held on to it and I ripped out nails and staples without loosing any in a way it was comical as a staple flew across the room and I would dive searching for it.
 
yah wood lol
once apart I realized that even though I measured I had not accounted for the wood slats not going all the way across but that's okay I had more wood than I needed so I cut some of the pieces and attached them on the end to make things longer and attached everything.
luckily it doesn't have to look pretty right now and I am covering it so I was not worried about what it looked like right now.
I took the padding (both kinds) and cut them in half
and folded them in thirds.
I began to feel like things were getting done and together and took the next step.
(I am flipped the board over I just placed it wrong in the picture)
thank you to my Mom for giving the fabric to my sister who didn't use it and kindly gave it to me. So thank you to my sister too :)
back to fabric, I got it in place under everything ready to be cut...
ummm then I lost the blue handled scissors. I know I had blue handled scissors I have photographic evidence two pictures up. After 30 minuets of searching, I gave in and grabbed a child's pair and cut the fabric. Still wondering what my mommy brain did with the blue ones.
Getting excited I grabbed the stapler...
only to find we bought the wrong staples
*sniff*sob* sulks away defeated.
Finally with the right tools I stuck it together :)
 
 
after stapling the corners I trimmed the excess fabric
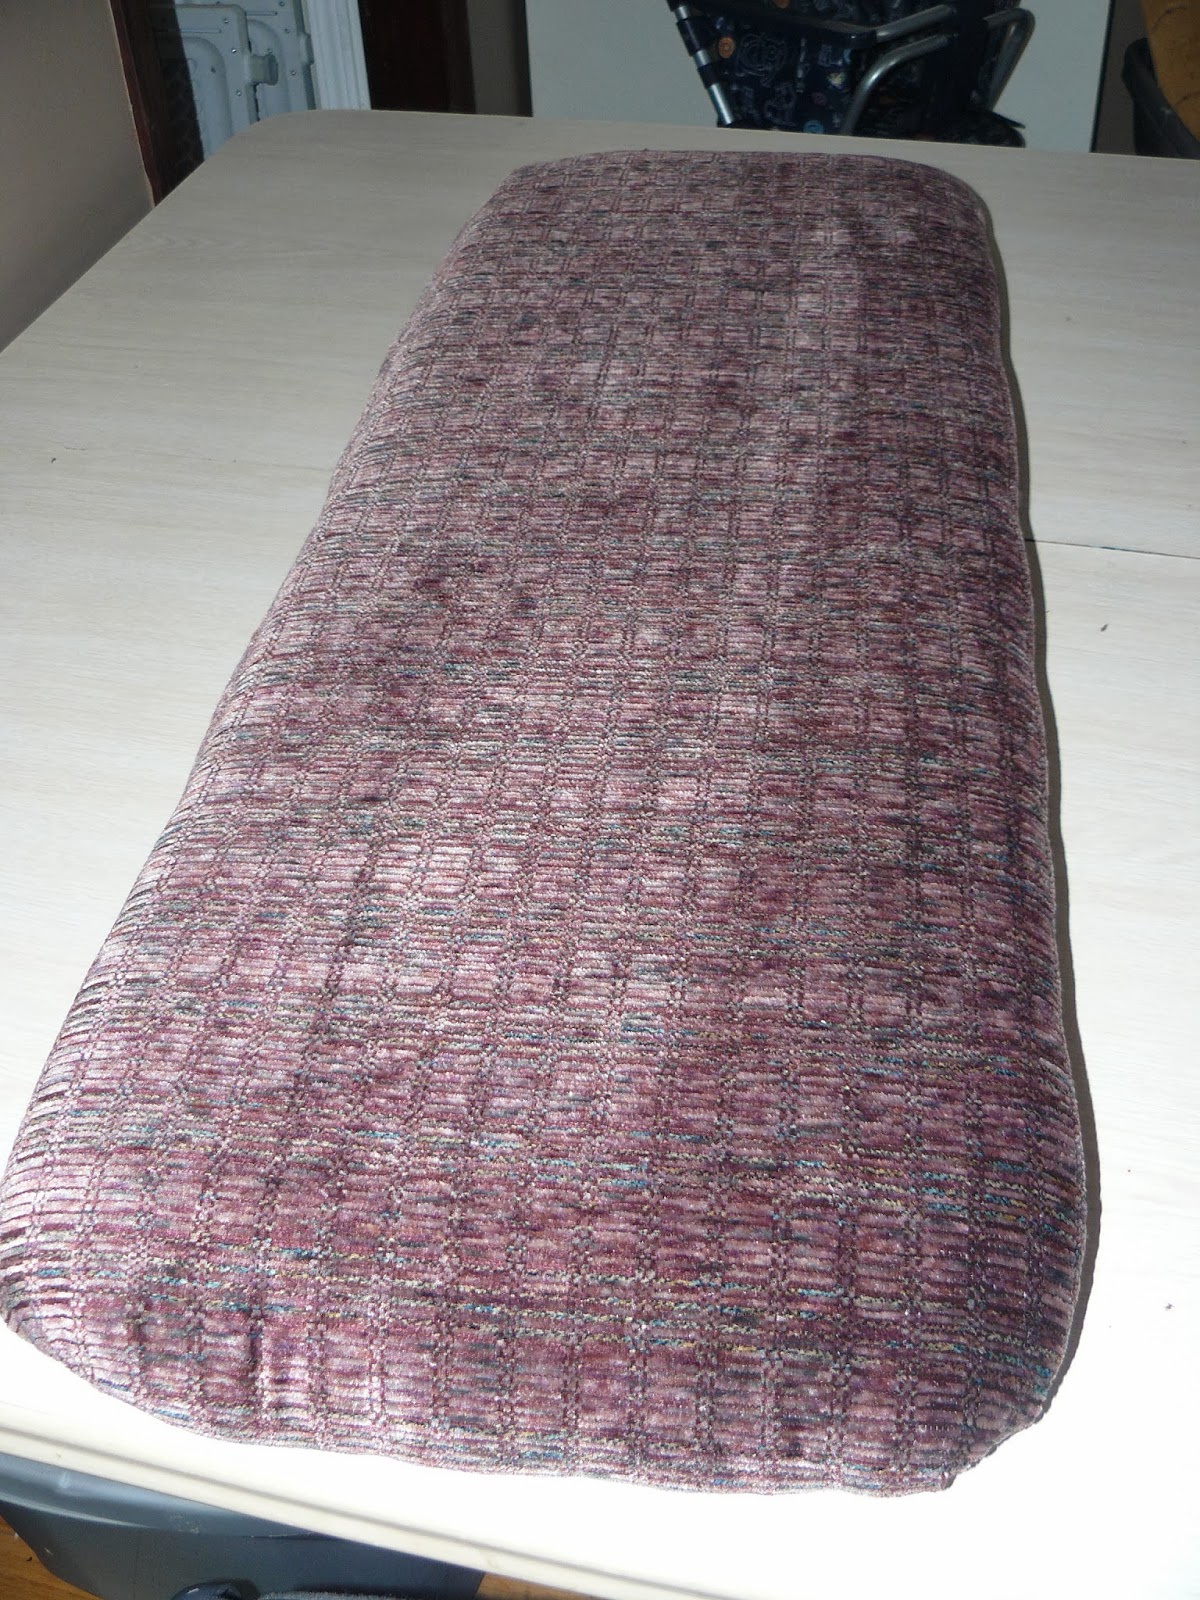
 
looking good :)
but not done yet I need to stick sides on so it doesn't fall off the buckets. I choose to attach them after because it was too difficult to add the fabric with them on.
so I will add them once I paint them or cover them in fabric.
but for now this is what I have
 
*Happy dance*


DIY Star

Miss Muffet decided we needed a star on the top of our tree and not an angel so we made one.
Materials needed
cardboard (a cereal box would work well)
scissors
hot glue gun/ glue sticks
white glue
glitter
 
 it does not give sizes so I guessed my big pieces were 12' by 3.5
small 6' by 2.25'
since I wanted it 3D I cut 4 big and 8 little
I pressed the scissors gently down the center of the pieces (do not cut through) so I could bend them in the middle.
I also made a base that the tree could slip into and hold it up I made it like this

then hot glued it in a cylinder
 sorry I failed to measure this piece :(
I then hot glued a big diamond on each side and together
I realized I needed to modify the next two big pieces to work so I cut a triangle on each side in the middle of each. then hot glued them in the center of the ones on the base (one on each side).
 
after this I hot glued the little diamonds in the open spaces on both sides matching them up. (I had to trim a small amount off one side to make it fit right)
once the hot glue is cool it is ready for finishing touches...
spread white glue all over (I did one side at a time.)
then glitter
 
you might wish for the one side to dry before flipping to the next.
and ta-da!!!!!! 
 
 
a beautiful 3D star... now I have to set up the tree.
Merry Christmas!


Monday, 22 July 2013

tv stand to play kitchen

From tv stand to play kitchen
I found this really sturdy tv stand and decided to make it into a play kitchen like i have seen done on pinterest.
Pinned Image
looking at it I figured I could do that with a little imagination I could make it work so I started by making plans...
It took me a few different ideas before I seddled on this one I didn't want to make the whole middle area a oven because my kids were climbing in and out and I didn't want them thinking that climbing in the oven was fun so I added a divider with shelving.
I decided I could use all the wood from the unit (shelf inside) and needed a few scraps we had around the house for the oven door and divider.
Once I got the divider in I started painting.
I decided I wanted a Marble look on the top.
I made a post on marbling so you can check that out if you want to know how I did it.
next I began finishing touches painting in the oven, and the elements, making a tap and knobs and putting the doors on... it's a little more work than I had planned but it's looking good and I could never afford a nice little kitchen like this so it's worth it :)
I made the taps and knobs out of wood because I didn't know what else to use and I think it turned out well.


I think if I was to do this again I  will just paint the burners on instead of cutting wooden ones out.
I attached the knobs with a bolt and two nuts

 
The kids love it and have been enjoying playing with it.
 

Saturday, 25 August 2012

Family Home Evening Chalk Board

I have wanted to make a FHE board for a while now but I have not found one I really like. I have looked at ones with multiple pieces that you move around on little hangers or nails, ones with Velcro, even ones made with Ribbon and clothes pins. None of them seemed right I needed my own, something original soooo...
I made a chalk board one :) (My hubby laughed at me because it's on a board of wood he thought it was punny lol)


I didn't get pictures of everything so I apologize but it is easy to follow :)
here's how I did it.
I made my own chalk board paint. if you use spray on stuff just spray your surface as par cans directions and skip to step 5

you will need
1/2cup Paint (whatever colour you like)
1Tbs sanded grout
surface you wish to use as your board
sand paper (fine)
extra paint (diff colour) to paint on assignments and whatever else you would like.

step 1
mix 1/2c paint with 1Tbs grout mix so there are no clumps ( I added the paint to the grout and slowly added more paint so it didn't clump)

Step 2
paint board - let dry

Step 3
sand slightly

Step 4
use side of chalk and rub all over board - wipe off (this is to condition the board for use)

Step 5
paint on assignments ect

Step 6
Use chalk to write in who has what and enjoy :)

Thursday, 26 July 2012

Hair clip flower

I love hair clips and little flowers in my muchkins hair... and I have fun putting them in my own I won't lie lol.
The only problem is the cost... So here it is easy as pie flower hair clip just for you.
You will need...
Flowers ($1.25 at Dollarama)
shinny middle or button ($1.00 for 8 at Dollarama)
hot glue gun
hot glue sticks
scissors
felt- cut in a circle and a strip(all I had was black but it works use what you want) (only if you want it to be used for headband and clip do you need this)


step 1
take the flower apart
step 2
glue flower pieces together layer by layer


step 3
glue in centre of your choosing
step 4
turn over and glue on felt circle (or glue a clip directly on and your done)
step5
glue felt strip on felt with one strip of glue on either side leaving it open in the middle

step 6
add a hair clip or hair band and you're done :)
wear and enjoy :)

Friday, 29 June 2012

Marbling

Marbling with paint


I just learned how to do this myself so I thought I would share.
you will need...
item your painting on
Paint I used 3 colors
scrap fabric
2 brushes
plastic wrap

first paint your surface the base color you want

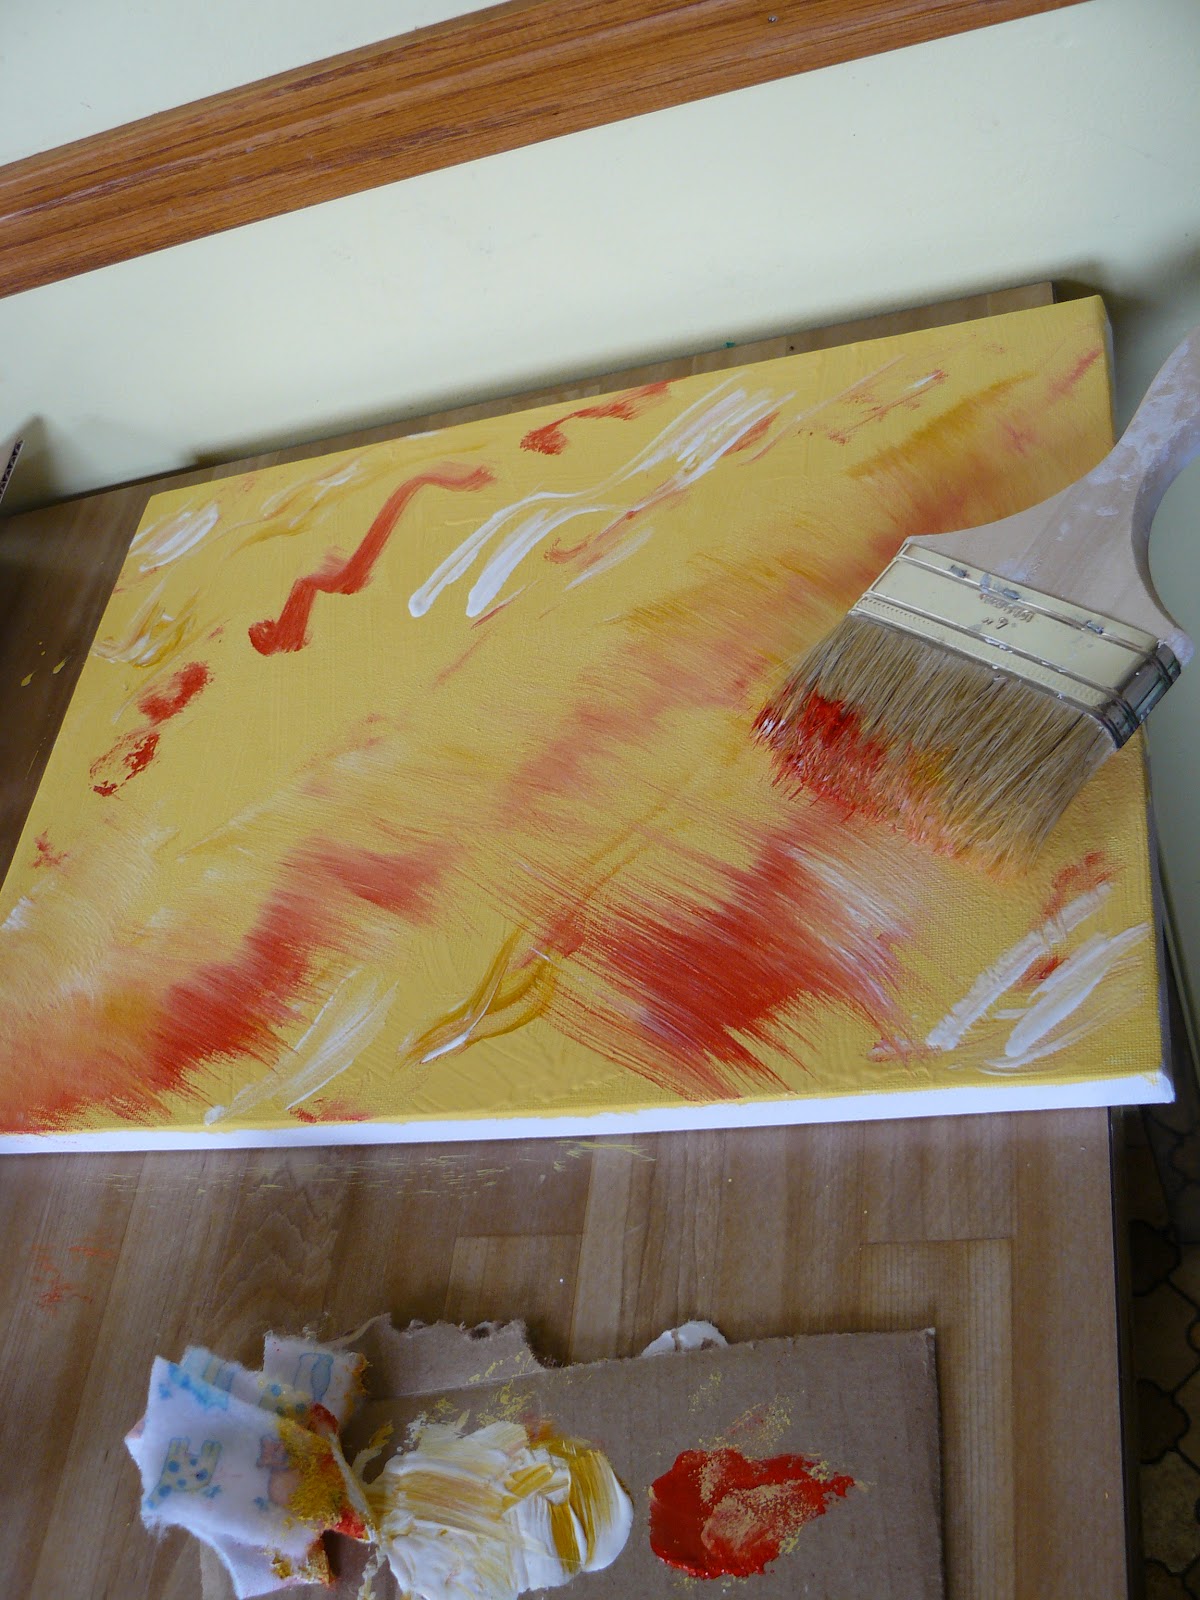
 second dip your scrap fabric in the different colored paint and put strips across the surface
marble follows in one direction most of the time so they should go the same direcion for everything

third take a DRY brush (must be dry it doesn't work as well if it's wet) and blend everything together the more you blend the better it seems to get.

 see :)
I think i would like to see more white in this though... you can dip your scrap again or cheat like me and put paint directly on the canvas/ surface from the tube. blend.

if you want more texture you can use some plastic wrap place it on top then lift

blend a little more to make it look good. Place small lines of white through the picture and lightly blend in (sorry I missed a picture of putting the lines in so I used the blue one to show lol)


And ta-da

I figured there was no use wasting this so I made it into a picture for my Munchkins room.

I was going to do 3 pictures but nap time didn't go as planned lol
I even had to distract them till I got these two done...
 paint was everywhere and I don't know what else would have paint on it if I finished a 3rd one.
but
they had fun and were distracted and covered in paint which led to bath time and who can argue with that? :)