The rental place we live in is small we have no storage, making it hard to have a food storage let alone a Christmas tree which we have somehow stuffed in the top of a closet.
We have five large buckets that we have no where to put, we have been using them as chairs as well seeing that we only have two large chairs.
LIGHTBULB!
LIGHTBULB!

I could make them into benches by putting wood over them and there would be more places to sit.
:)
Great idea...
problem though I had no wood and we couldn't afford any...

I suddenly realized we had a box spring we had been trying to give away for two months with no takers...I measured it and it was the perfect size wahahahaha
so I painstakingly pulled it apart piece by piece.

the outside had padding which I decided I would cushion the benches with so I held on to it and I ripped out nails and staples without loosing any in a way it was comical as a staple flew across the room and I would dive searching for it.

yah wood lol
once apart I realized that even though I measured I had not accounted for the wood slats not going all the way across but that's okay I had more wood than I needed so I cut some of the pieces and attached them on the end to make things longer and attached everything.

luckily it doesn't have to look pretty right now and I am covering it so I was not worried about what it looked like right now.

I took the padding (both kinds) and cut them in half

and folded them in thirds.
I began to feel like things were getting done and together and took the next step.

(I am flipped the board over I just placed it wrong in the picture)
thank you to my Mom for giving the fabric to my sister who didn't use it and kindly gave it to me. So thank you to my sister too :)
back to fabric, I got it in place under everything ready to be cut...
ummm then I lost the blue handled scissors. I know I had blue handled scissors I have photographic evidence two pictures up. After 30 minuets of searching, I gave in and grabbed a child's pair and cut the fabric. Still wondering what my mommy brain did with the blue ones.
Getting excited I grabbed the stapler...
only to find we bought the wrong staples
*sniff*sob* sulks away defeated.
Finally with the right tools I stuck it together :)

after stapling the corners I trimmed the excess fabric
looking good :)
but not done yet I need to stick sides on so it doesn't fall off the buckets. I choose to attach them after because it was too difficult to add the fabric with them on.
so I will add them once I paint them or cover them in fabric.
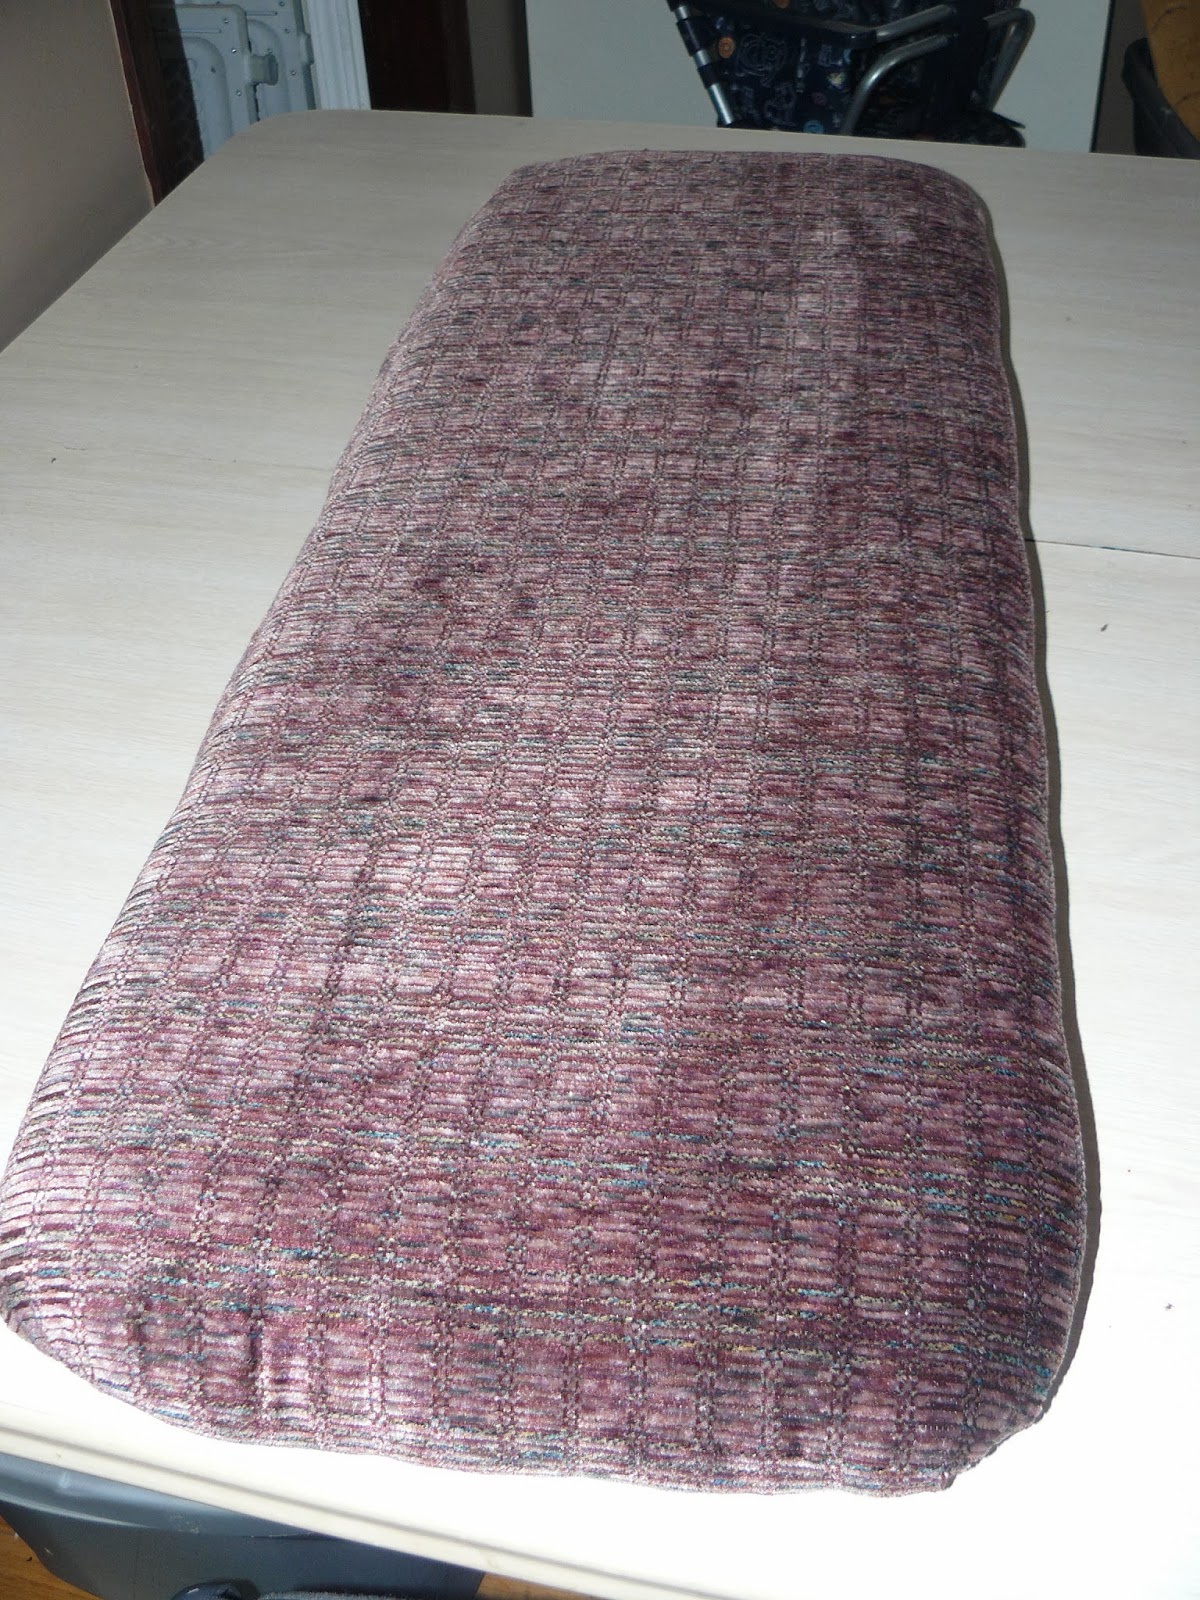
but for now this is what I have

*Happy dance*


